My Couture Notions Shop
The Blog

Welcome in our online shop

€ $ £...

Previous or back to : Back to General Store Back to  Wedding store Back to Traditional or historical costumes store Back to Lingerie store Version française

Sewing, knitting, embroidery, easy and fashion blog

--- ---

2 Item(s)

Set Ascending Direction
per page

Making suspenders

Oct 8, 2014 12:00:00 AM

Suspenders are both practical and decorative. We had idea to do a little tutorial to show you the manufacture of suspenders in our way: simple and fast.
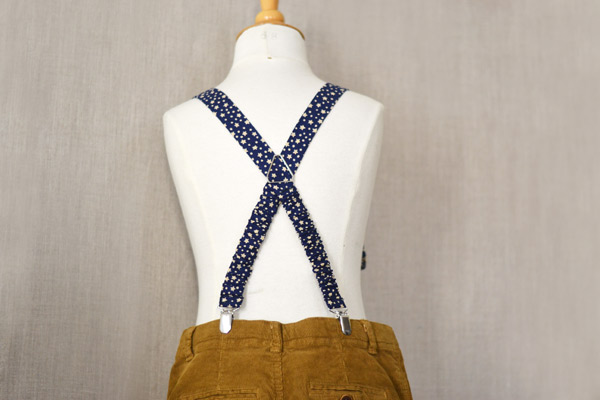
suspenders DIY

The material:

- 2 rectangles of stars fabric
7x75 cm for 2 to 4 years child,
7x85 cm for 6 to 8 years,
7x90 cm for 10 to 14 years,
9x110 cm for 16 years to adult.
- sewing thread matching the fabric
- 4 25 mm suspenders clasps for child, 36 mm for adult.
- 2 adjustment clips 25mm (child) or 36mm (adult)
- 1 suspenders cross-brace 25mm (child) or 36mm (adult)
- 2 black or white elastic band 2cm wide x 15cm

Tools:

- loop turner (indispensable)
- cisors
- sewing machine, of course!

We made a video just for you to show each step in picture (you can activate the English subtitles by clicking on CC):


To help you achieving, we added the tutorial, with step by step photos:

1 / Iron each cut strip of fabric
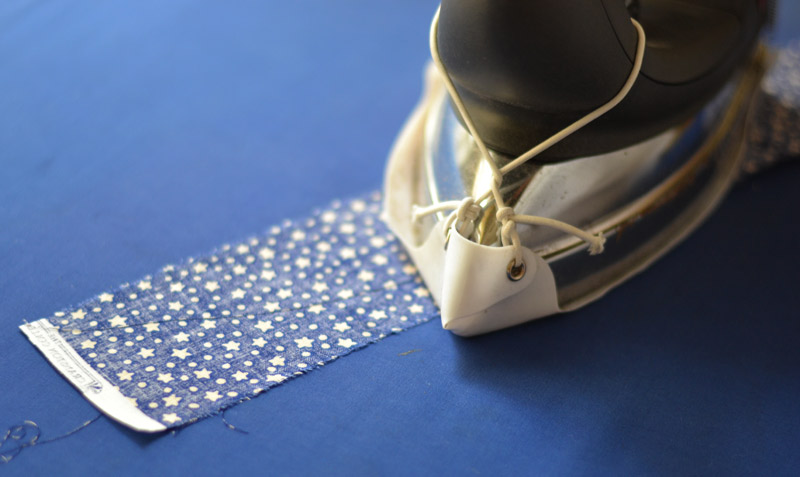
Iron the fabric strip before making suspenders

2 / Fold each strip of fabric right side against right and stitch to 1cm from the edge then Iron the strips seam very flat before returning it.
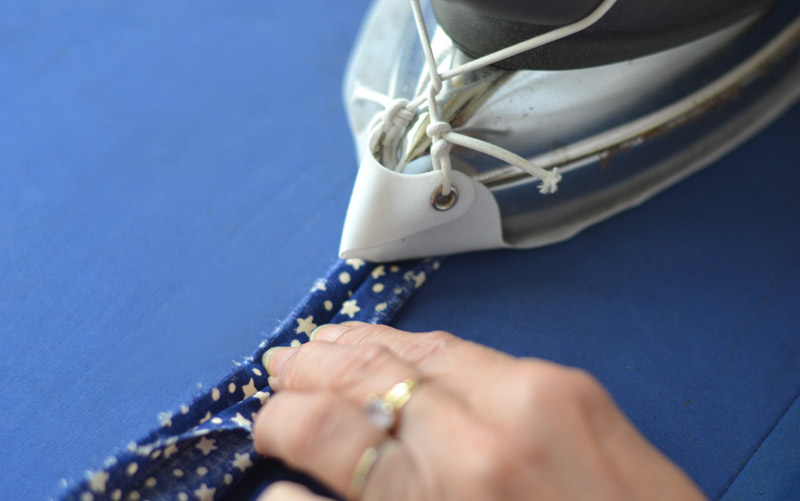
Iron the seam flat

3 / Once the strips returned with the loop turner iron it the seam centered.
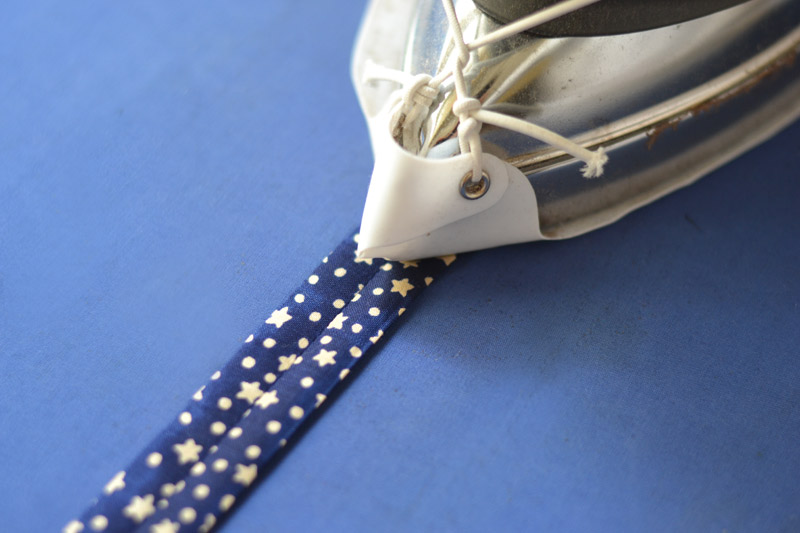
Once the suspender returned, iron it

4 / Slip in each of the suspenders on the future front part the adjustment buckles, fold the fabric twice and stitch.
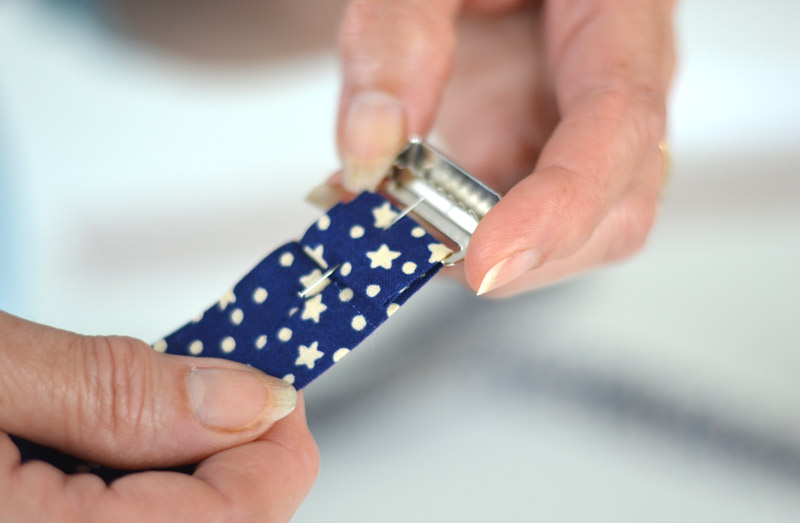
Slip the adjustment buckles

5 / Now slip in each of the suspenders, the suspender clips, then move the strip in hand in the adjustment buckle by ensuring the buckle and the clamp are on the same side. Tighten the adjustment buckle on the strip.
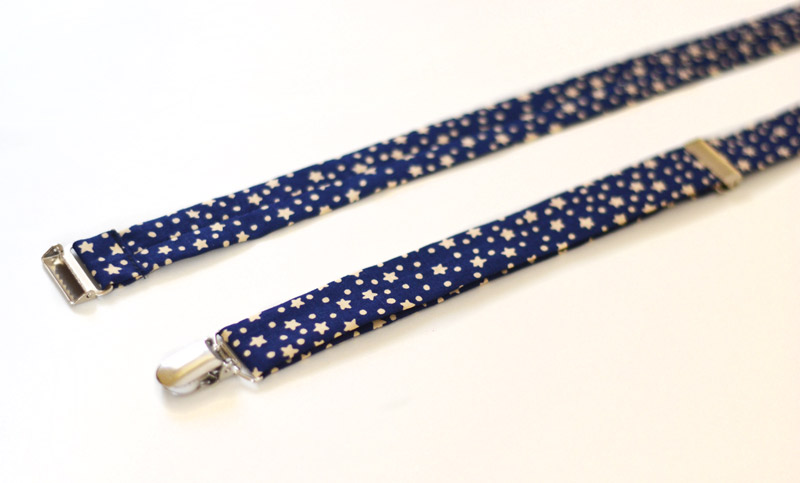
Put the suspender clamps

6 / Slip each strip crossing them in the cross-brace.
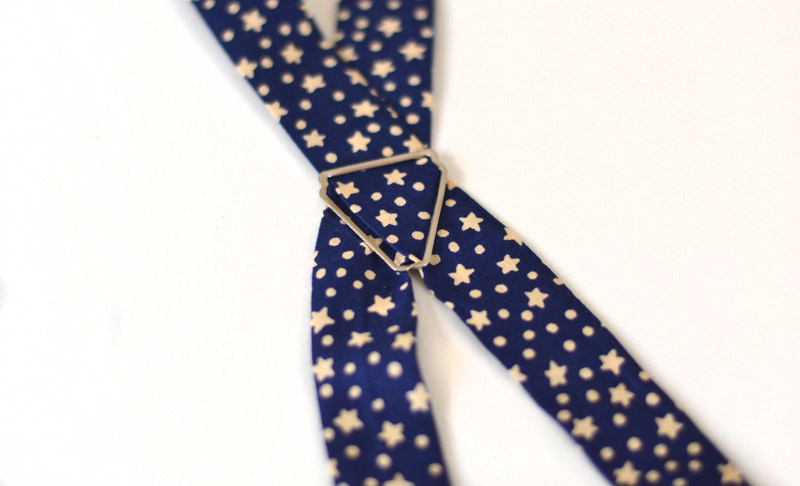
Slip strips in the cross-brace

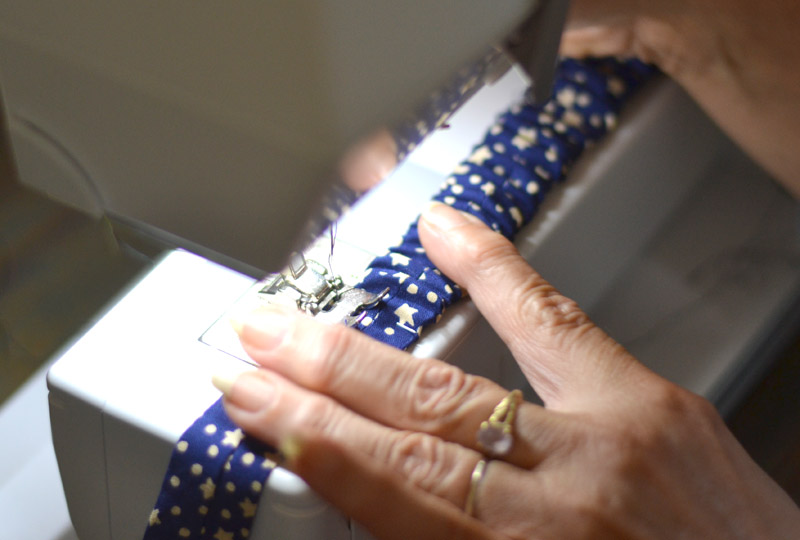
7 / Push each of the elastic bands in the back part of each strip with the loop turner (pass through the seam) up to 30 cm in height, secure it with a pin and stitch.
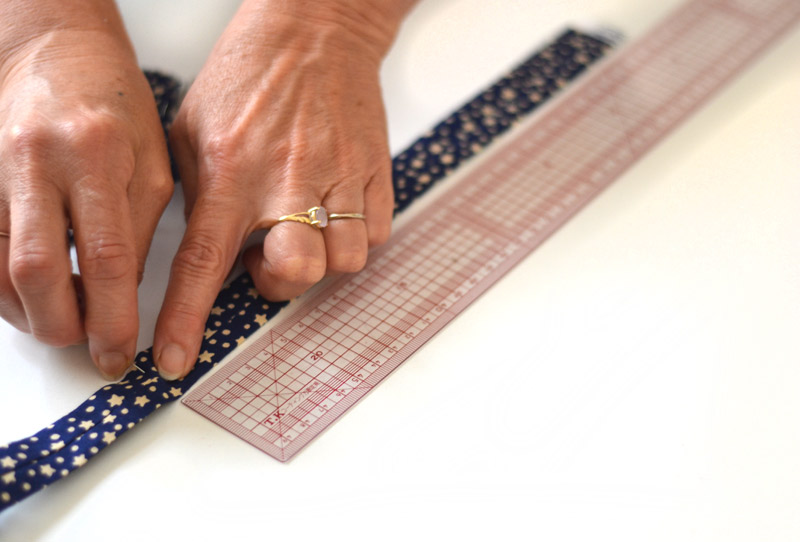
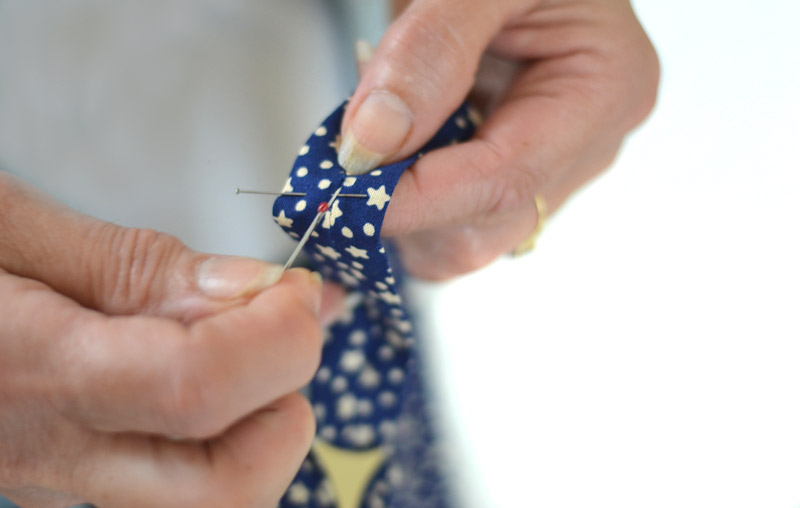
Push elastic bands in each strip

Elastic band in suspender strip

Elastic band suspender sewing

8 / Place in each of suspenders, the back clamps, fold the fabric twice and stitch.
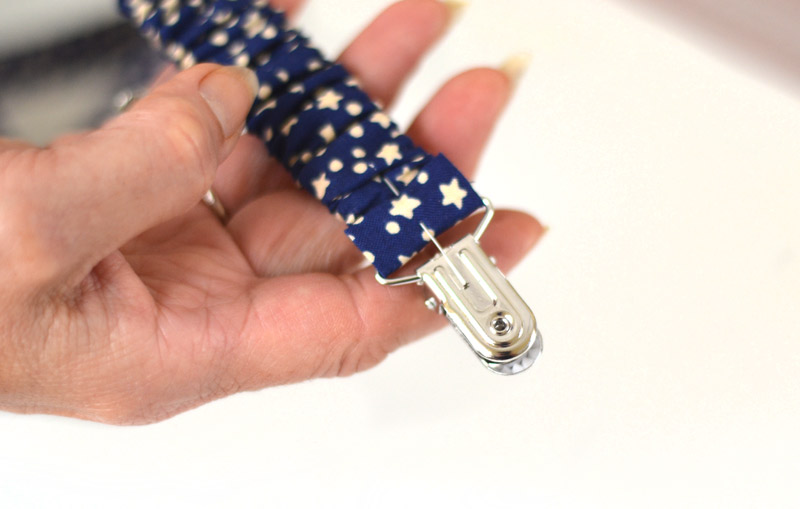
Suspenders adjustment clamps sewing


Well done! It's over, you just have to give your custom suspenders or pair them with the kids outfits. Why not strapless floral fabrics to give a chic and cheerful side to a man's outfit?

Find all our printed patterned fabrics on this page to give you some suspenders creation ideas!
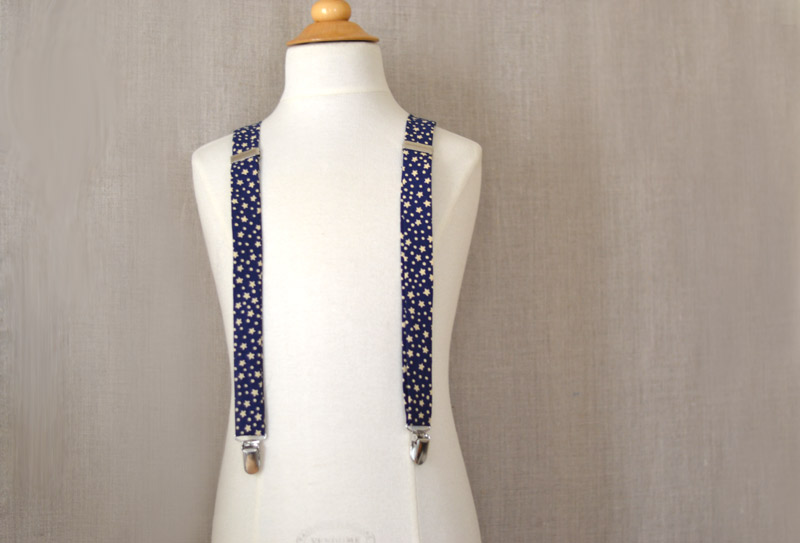
DIY: adjustable stars suspenders finished

Bookmark and Share

Blog tags:

Comments Posted in Tutorials & tips By Amandine

When you sew for yourself, you quickly encounter a problem with the very difficult fittings by yourself, hence the question we might ask, should I buy a dressmaker's form?

Same problem when working for others, between two fittings, it can be interresting to put the garment on a dressmaker's form to check the appearance.

What is the offer to individuals? Said adjustable models with inner joint systems to adapt it to its measurements. They all seem to look the same but with price differences. These can be explained by the mechanism more or less developed, reliable and / or simple in order to update measures.

You can find, in general, wheels that you can turn to move away or closer the dressmaker's form elements, to get the right measurements.

Possible settings are at the bust, waist and hips but you must realize that even though these three measurements are met, this model will never be the true representation of your body, body posture is very different from one person to another. On the other hand, some measurements are not taken into account: cross, distance chest size, shoulder length etc ...

bouton réglage 1

bouton réglage 2 bouton réglage 3 bouton réglage 4

mannequin

In conclusion, we must know how to use a dressmaker's form for what it can do for you: work a collar fitting, a sleeve fitting, take a step back to analyze the general appearance of a garment, to create a form, make a mold etc. ... But do not use it as a true representation of your own morphology, it is better to try the clothing and get help from an experienced person to solve some "good fitting" issues.

Donc avoir un mannequin réglable, c'est bien, voire indispensable si vous pratiquez une couture très créative, mais ne lésinez pas sur sa qualité, les bas de gamme auront toujours des systèmes de mise à mesures moins solides et plus aléatoires. Autre inconvénient, qu'il faut savoir, ces mannequins sont constitués d'une coque dure sous le tissu extérieur ce qui exclu d'y planter des épingles.

So having a adjustable dressmaker's model, is nice, it could be even necessary if you practice a very creative fashion, but do not skimp on quality, low-end systems will always be weaker and more uncertain. Another drawback that you need to know: these models consist of a hard shell under the outer fabric which excluded to plant pins in it.

Quality dressmaker's model example.


Bookmark and Share

Blog tags:

Comments Posted in Tutorials & tips By A&A
--- ---

2 Item(s)

Set Ascending Direction
per page